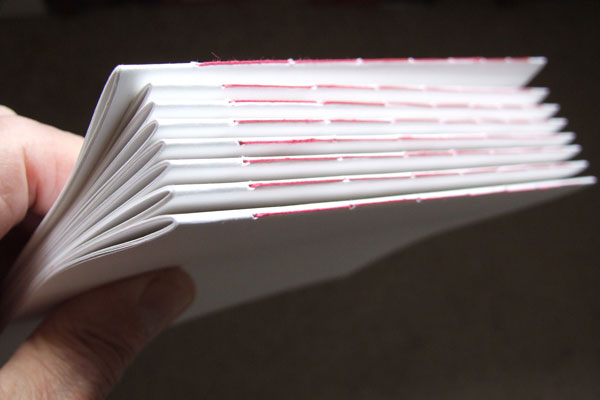
Eight sections sewn using red threads and six holes ~
Each section has (unusually) been treated as a separate single section
Sections ~ or signatures as some people call them [110339] ~ can be individually sewn with any number of holes. Frequently an odd number of holes is used ~ but any number greater than two works with the method shown below.
The pictures illustrated here ~ unusually ~ treat each section singly. Normally when making a multi section book the sections are linked together in a variety of ways ~ which makes things a little more complicated. I have used red thread in the topmost picture and yellow in illustrations below [125545].
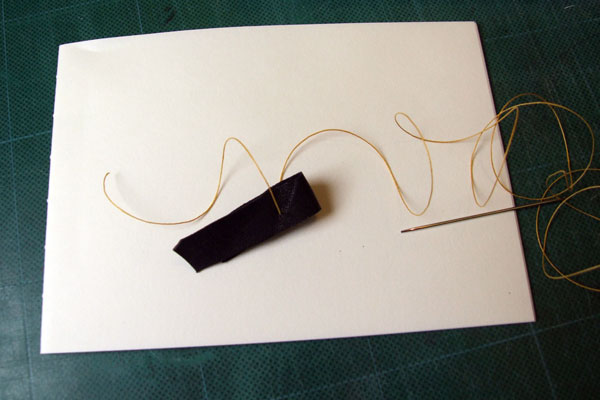
The thread here has been unwound from a small reel. It has preserved some of it coil. This can be straightened out by running it across the edge of a folder ~ or better still by running the thread around a beeswax block [115028] The thread is less likely to cause tangles if it is straightened and stiffened with wax. For some reason I did not do it on this occasion.
If you are wondering about the little leather strip there is an explanation [127066].
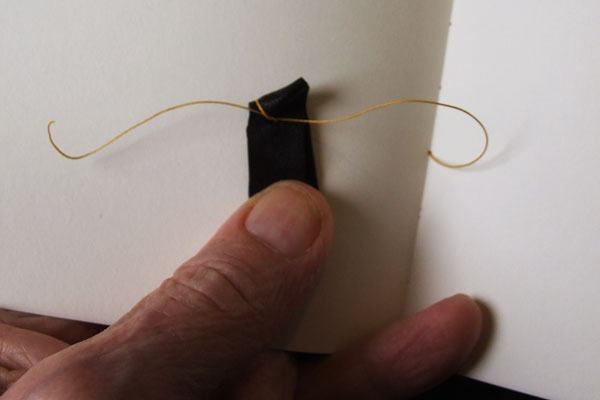
Tap the sections down to ensure that all the holes are aligned ~ as they were when the awl was being used. Keep a firm grip on the leather strip and from the valley of the hinge pass the needle through one of the near-central holes. It helps to leave five or ten cm of thread for knot tying ~ later.
From now on ~ for a while ~ work the needle in ~ or out ~ of the next adjacent hole ~ moving in the same direction until you reach the end. At that stage turn round and work ~ in and out ~ until you reach the first hole you started with.
All this is so easy to do I have not illustrated it. It is important to stop round about now and read a bit more ~ two important matters need to be considered.
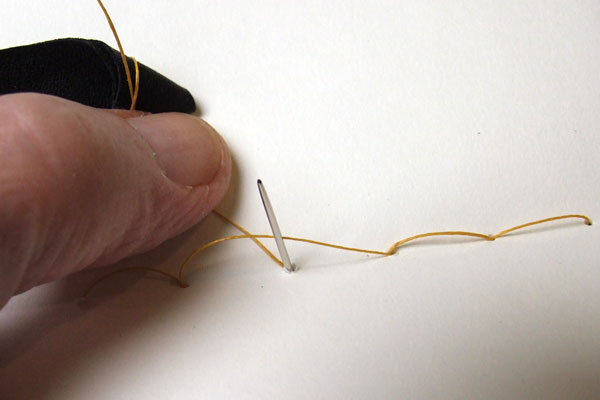
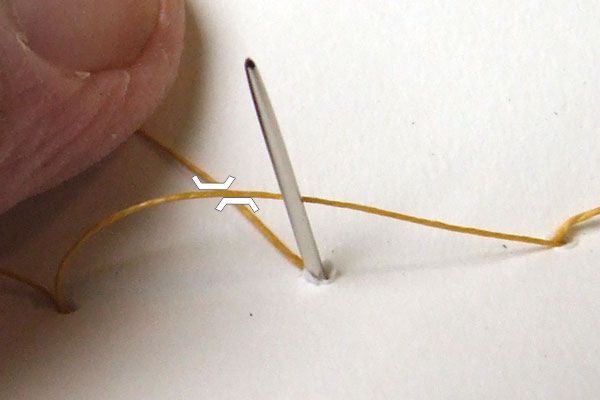
Stepping back to the easily described process of the previous paragraph ~ You may ~ if unlucky ~ that you spear a thread with the needle as it wriggles through a hole. This can cause bagginess of thread which cannot later be rectified. The next picture was taken on a different occasion ~ but shows what I describe.

Looking at pictures further down the page you will see that my needle is a blunt one ~ a tapestry needle ~ designed to help avoid spearing threads as shown above. A shapr poijt is not necessary since a sharp awl has already done the heavy hole-making work.
Now to return to where I left off a moment ago ~ the second important stop and think point. ~
Do not go through it again at this stage. You started by going through the first hole from the valley side ~ and you would be going through from the valley side again. Remember always to avoid this.
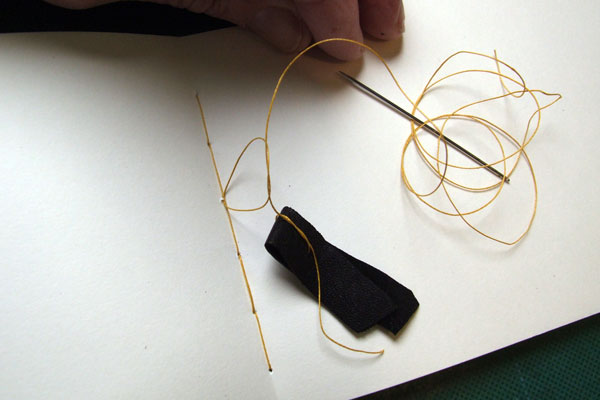
Skip over this 'first' hole ~ making a double length loop. Then continue in and out until you are about to go through the first hole. This will ~ if all has gone correctly ~ from the outside to the inside ~ mountainside to valley side. At this stage ~ carefully ~ pass the needle onto the other side of the extra long loop ~ illustrated in the two pictures, below.
The reason for all this fuss is to make sure the finishing knot ~ which is about to be tied ~ has something to grab. It will squeeze around the long loop and secure everything in place. Before the knot is tied there must be a grand tightening up process. The threads in the picture are very sloppy.
There are two ends of thread which set off ~ and returned ~ on their in and out journeys in different directions. With left and right hands gently pull the two threads in opposite directions. Be sure that the pull follows the route the thread would most like to take ~ one in one direction ~ the other in the opposite. If you tug in the wrong two directions you will tear the holes and spoil the neat handiwork.
With several holes ~ as here ~ you may need to do some intermediate tuggings further along the line. Once again there is a risk of tearing the papers if you tug at the end holes. Skill and judgement will come ~ with time and practice.
Finally ~ tie a reef knot using the two threads ~ making sure that they trap the loop of thread between them. The next picture shows the first half of the reef knot about to be pulled tight.
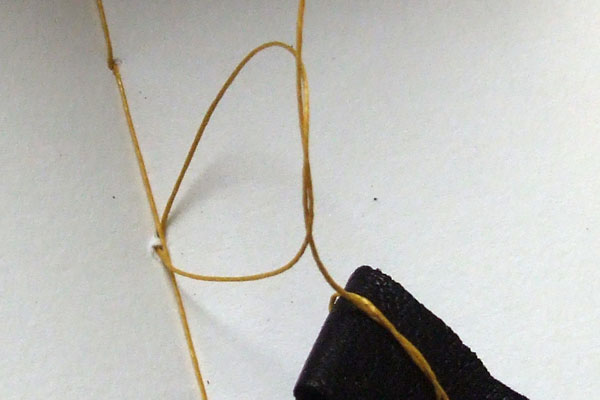
Another point of neatness which you may be able to see from the picture above is that the threads ares travelling in a gentle curve that continues in the same direction as it comes out of the hole. The thread on the right of the longloop also passes to the right of the the thread as the knot is being formed. All this will make for a neater knot ~ it is important not to bulk-up the section too much with ugly clumps of tangled knotting.
Complete the rest of the reef knot. I am told that a reef knot is better to use than a granny knot ~ boy scouts or girl guides may be able to confirm this for you.
Once the reef not is tied the ends can be snipped off neatly ~ job done.
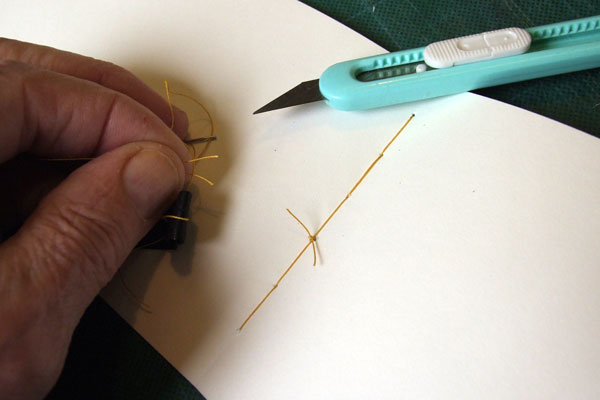
The words 'some people' include me ~ but I neutralize it by dissociating myself from suggesting it is good or bad practice ~ I await professional comment! I have no idea why I took a photo of cutting the threads with a knife. I always use my sharpest and best scissors for this ~ and suggest that you keep a small pair handy also. Even a sharp knife tugs things around ~ as sharp scissors have a more gently ~ balanced ~ approach. Note ~ yes ~ I do keep the older scissors for hacking work ~ and the newest for gentlest jobs. I am lucky to be able to have several pairs.
