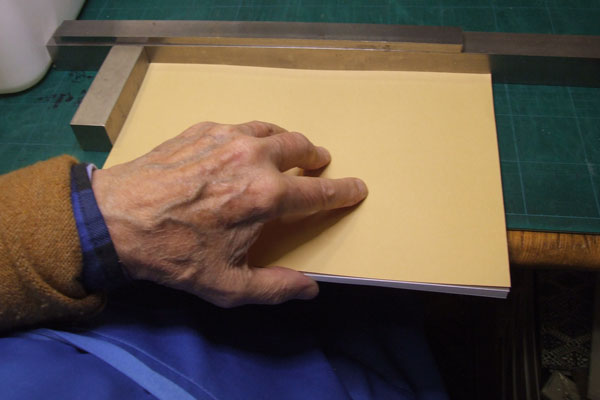
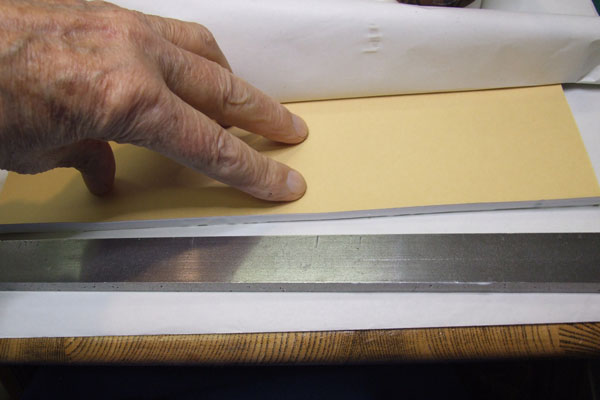
Aligning the pages ~
The thumb is gently pressing the sheets against the distant block
Fan binding is quick and easy for beginners to bookcraft [114208]. If done carefully it provides a secure binding for loose sheets of paper.
This page is not primarily describing 'How to do it'. It illustrates the way I did a fan-binding job on one occasion ~ and points out various matters which beginners may wish to note. For example there are several useful bits of kit in use which ~ I suspect ~ are not in the bookcrafters' toolbox. I describe them more fully as they are met with...below...
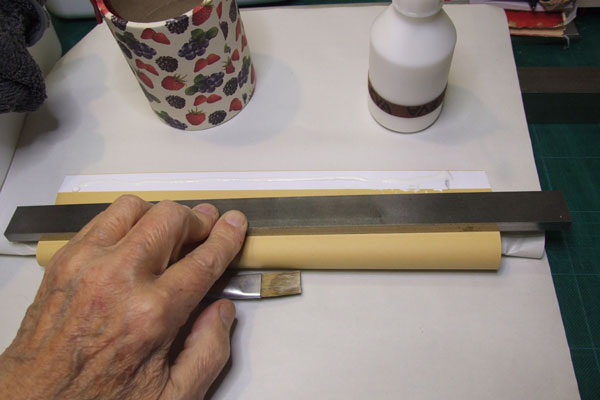
Here I am tapping across the workbench. I am using a heavy steel bar to tap against ~ and a smaller bar to tap against sideways. The thumb is applying a gentle pressure into the picture ~ the other fingers are preventing the book from buckling upwards as I push inwards. (Tapping down needs two hands [116505]. In this case my right hand is holding the camera.)
The pile of sheets to be glued also have one blank sheet at side of the pile, and a light ~ 160gsm ~ a tinted card at front and back on the outside. I put these there since I find that the outer sheets always get a little messy with glue that is not wanted.
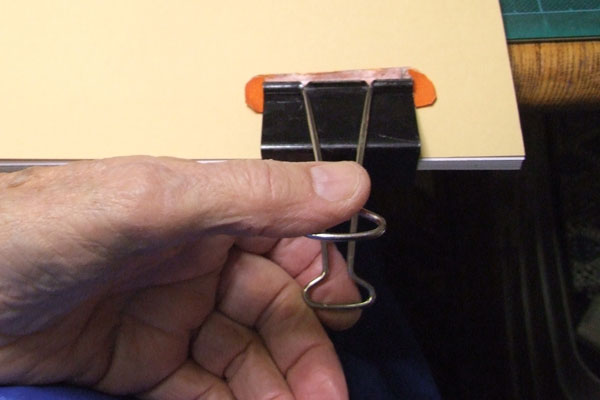
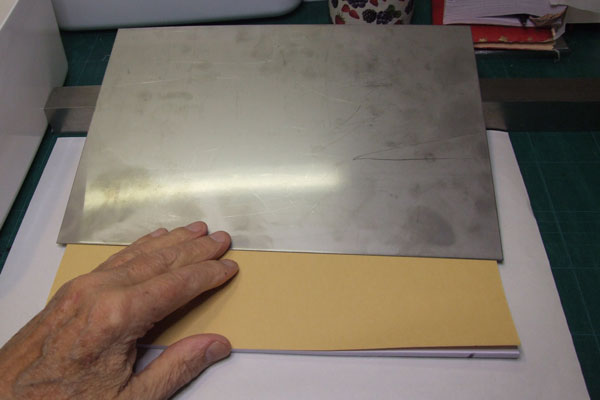
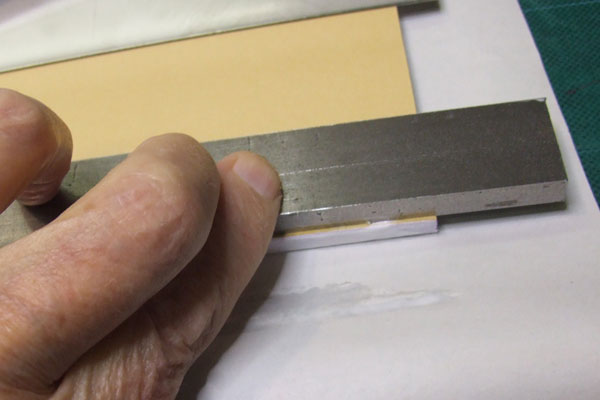
It is important to remember that the clips are going onto the fore-edge of the book ~ the opposite edge from the hinging edge ~ where the glue is going to go.
I find that this type of paper clip ~ Foldbacks ~ to be quite adequate for clamping the sheets together. The edge can leave marks and so I have permanently attached a slip of adhesive tape. Any mark that is made now will be unlikely to travel through the card and first seet of paper.
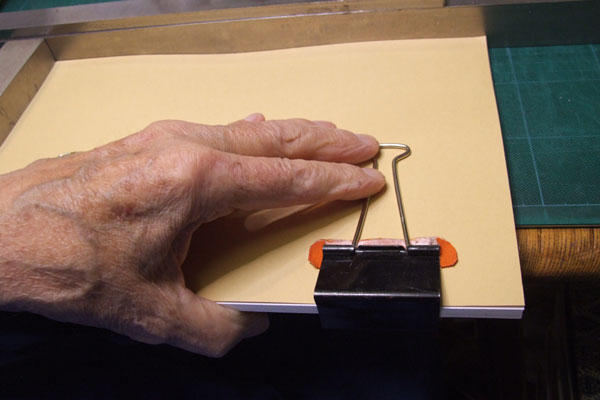
In practice my left hand would continue to hold the pile of papers with a steady downward squash ~ my right hand is busy holding the camera. You may notice that the cover sheet has slipped by a fraction. This should have been noticed and rectified ~ I see from following pictures it remains. Casual!
One of the advantages of Foldback Clips is evoked in their name. The handles can be removed completely ~ it is a fiddle. Folding the handles flat is sufficiently tidy for the handles to be out of the way.
I have found that for small-ish jobs two good Foldback clips will stop any slippage. Three would be better. There are other ways of clamping ~ but I have found them all too cumbersome when compared with this method.

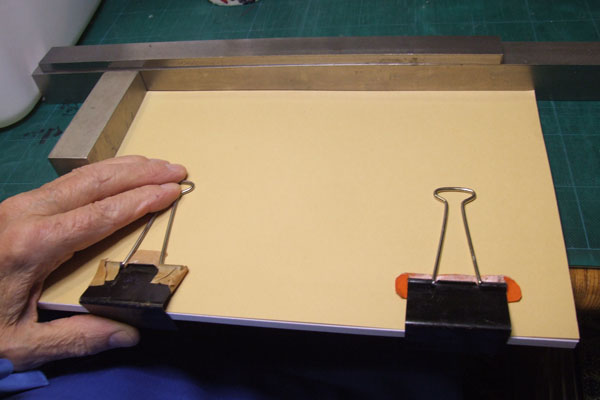
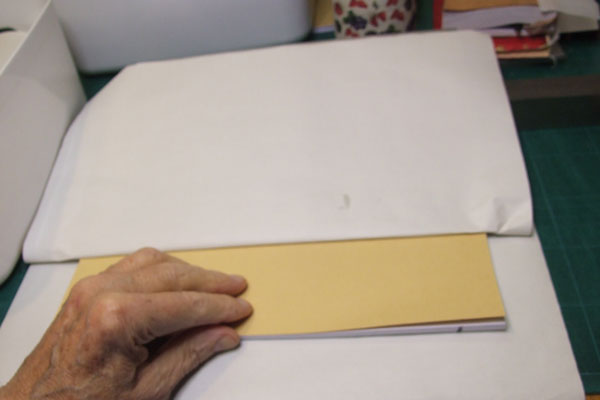
The next stage is to prepare for gluing. Flip the bundle over so that the clips are up against the backstop. They do not have to touch it. As things progress there will be a tendency for things to slip away from you (towards the top of the picture).
The backstop I am using is not essential ~ it is quite possible to manage without it (in which case skip the rest of this paragraph!) The heavy steel bar I am using is resting on the cutting-mat of the desktop is unlikely to budge. A piece of wood could equally well serve ~ especially if it is screwed down. It is important ~ for me ~ for this way of working ~ that the backstop also has height. This enables a temporary table to be built. For this I use a sheet of stainless steel.
I am using a sheet of 2mm stainless steel to make a platform over the half the book. The far edge of the steel is resting on the backstop. I sometimes do not bother with a back stop ~ just rest the steel on the foldback clips. This platform can be made of any material card ~ glass ~ wood. It must have some strength ~ and is preferably made of something that can also be easily cleaned if glue spills onto it ~ as it may!
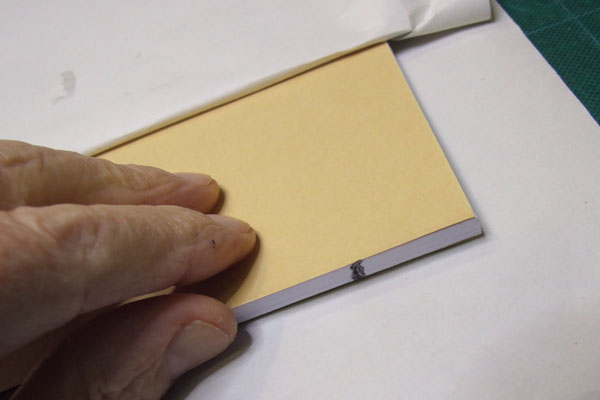
Even though stainless steel can be cleaned easily it is good prcitce to protect everything possible when gluing ~ so the steel plate is loosely wrapped with unused newsprint ~ I call it chip paper [115230]. It is worth noting the external signature marking that I have put onto the sheets. I emphasise this with a couple of enlargements.
From now on work must proceed with as much speed as care will allow. It helps to have the necessary tools and materials close to hand.
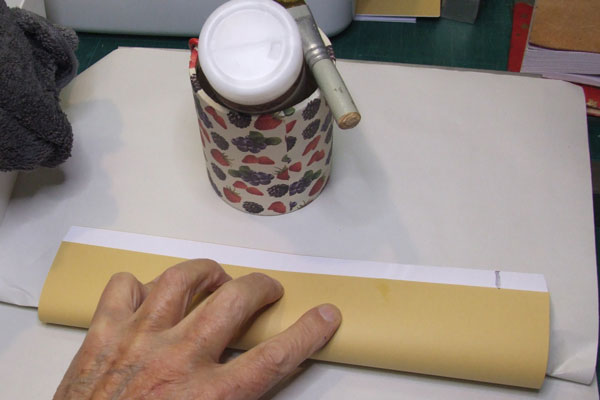
I keep the glue in a squeeze-bottle with a spout. When not in use the bottle lives in a cardboard tube ~ which has been decorated with some fancy, fruity, paper. The glue brush is also ready to hand ~ and the damp cloth is not far away. I am gluing about 30cm of springy paper ~ you will observe a slight curve to the sheets where my hand cannot reach to squash them down. This is not serious ~ and can be resolved quite easily.
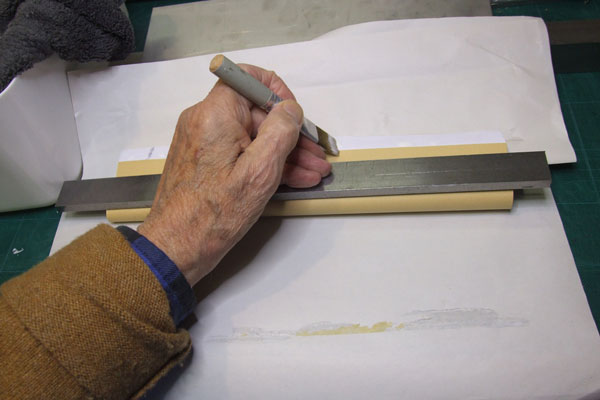
I have a thick steel bar that acts as a squasher at times like this. The weight of the bar ~ and pressure from one hand ~ maintains an even distribution of page-edges ready for gluing. In the picture above a thin strip of glue has been squeezed along the length of the sheets' edges. As white on white it is difficult to see.
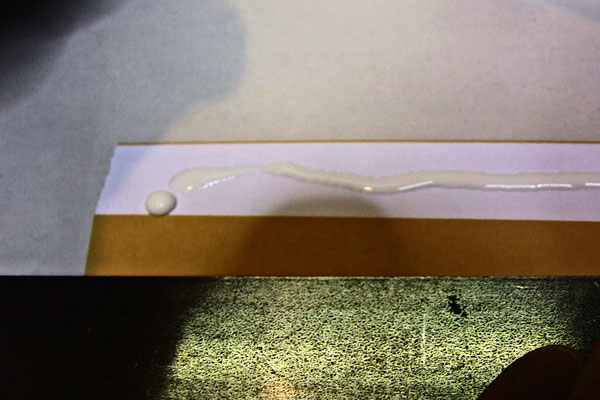
Increasing the contrast of the left hand end of the above picture shows the strip of glue as applied. I find the squeeze bottle and spout provides good control over the amount of glue. It is also worth noting that the mild-steel bar is showing signs of rust. If readers plan to follow this technique then stainless steel will have a life of centuries, ~ rather than decades for mild steel.
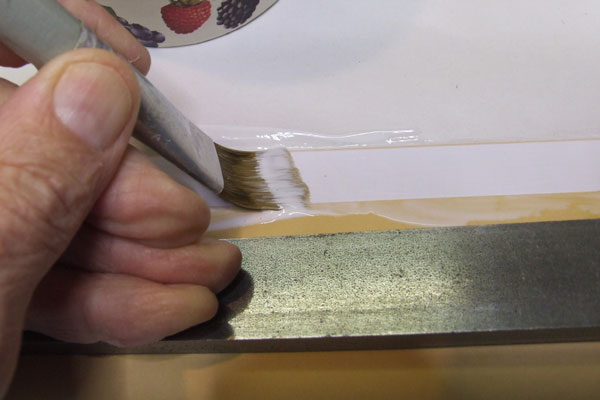
I find an artist's paint brush to be ideal for brushing out the glue strip without slobbering too much over the sides. Circular paste and glue brushes are fine for mass-area coverage ~ flat tips of the right size do a great job for me. Once the brushing has been done ~ and speed is as important as efficient coverage ~ release the pressure and let the sheets spring back into their natural ~ finished ~ position.
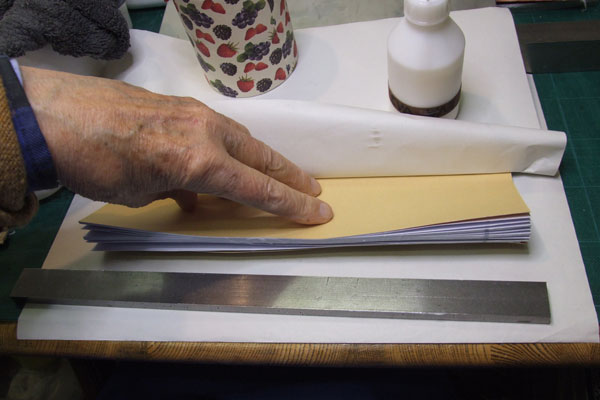
Once the gluing is complete and the sheets spring back they will tend to stick together ~ but not in the right places. Whilst the glue is still runny it is important to press out all the irregularities. This is best done with fingers ~ so that the direction of squeezing pushes excess glue out into the open back. If too much glue is allowed to seep onto the pages the book will not open properly ~ or will tear the sheets as it is forced open.
Using a runny glue is important ~ a quick setting thick glue will stick the pages together such that they cannot be flattened out.
At this stage a decision has to be made ~ are you content with 'one fan' or do you need 'two fan'? In this case I needed to be sure the book would never fall apart ~ five copies were to be sent to the national libraries. Anticipating this requirement I used EVA which is slightly more slow setting than PVA. I also worked quickly so that the book could be flipped over and a second roll could be managed.

Repeating the proccess ~ this can only be done if the glue remains moist and not tacky. Note that the signature markings are now at the left hand end.
This is not quite a repeat of the earlier picture ~ there are two giveaways for that. The singature marking shows ~ as do some messy marks on the chip paper. It had earlier done its job and collected stray glue-blobs. Being thrifty ~ and careful ~ I used the paper for a second time. This re-use of chip paper is a good practice ~ provided you always remember to keep the gluey bit well away from anything important.

